
I can't believe I'm doing this. I'm incredibly bored.
Yes, we'll go with that.
When I prepared to go to Sakura-con this last April, it was with the knowledge that I would for one of the days be dragging along some children that may be greatly confused by the entire thing.
So I confused them more by dressing them up in cosplay.
In about two months, I had crocheted a Luffy Unlimited Adventure vest for my niece of which I am particularly proud.
Unlimited Adventure Vest:
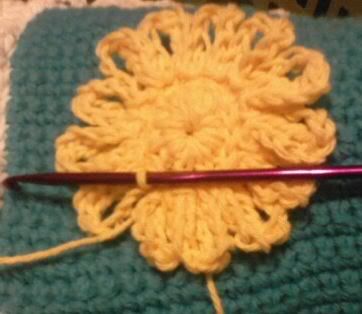
[hide]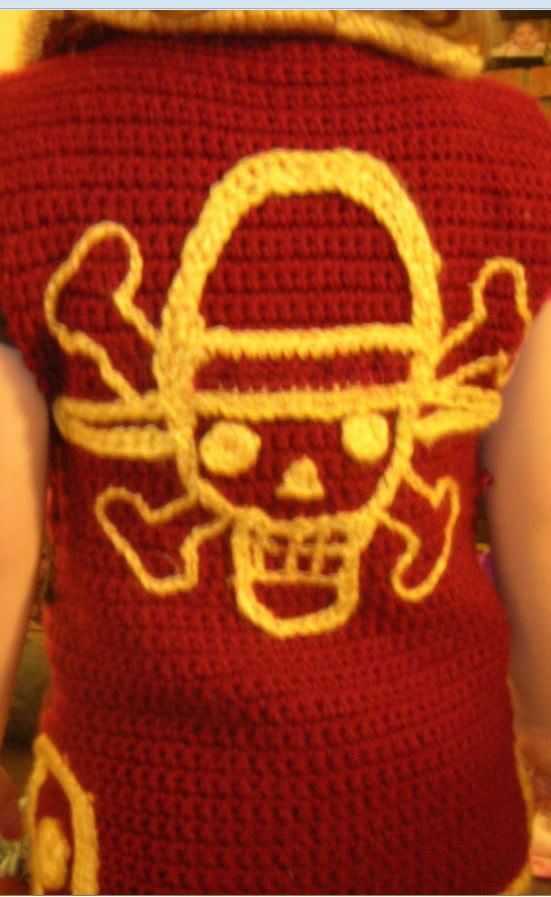 [/hide]Now I'm crocheting another Luffy vest. The infamous "sexy frills" vest from Amazon Lily.
And since I'm much better, can create a tighter weave, can keep the ends of my rows consistent, have learned from the mistakes of the first vest, and am just plain bored, I'll walk people through it.
Instructions:
[hide]I made my first booboo on this particular project by not measuring my niece ahead of time, and it ended up being much wider than it really should have been. After pulling everything out to restart, I started much smaller.
If you want to follow along or make a similar vest or shirt, MEASURE YOURSELF OR YOUR VICTIM FIRST.
The following may not make much sense to those that don't know how to crochet.
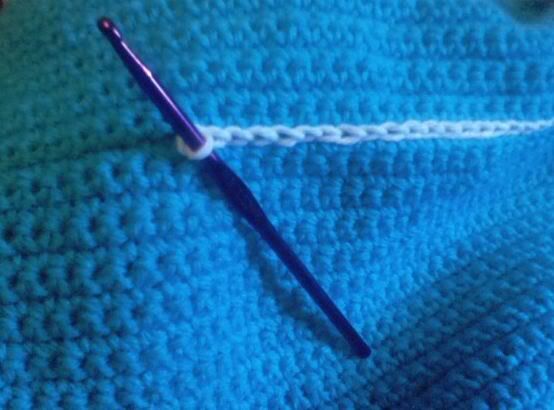
I am using an H/8-5.00mm needle for this with 4 worsted yarn.
As long as all the yarn you use is the same worst type, they shouldn't fray each other. Brands don't matter, but I highly suggest that you do NOT use Lion Brand unless it is their Pound of Love stuff. Much softer, and nicer on the fingertips.
Usually, I might tell you to make 50 or 60 or whatever chains first, but I didn't actually count since I pulled everything out. But honestly, that hardly matters with a piece like this. The length of this first row of chains should be a few inches longer than his/her diameter to allow for any shrinking from the ensuing rows and to allow for an overlap of the vest.
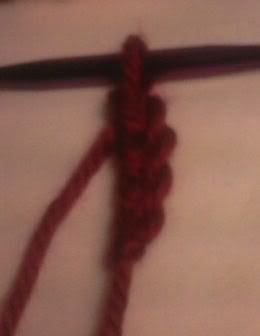
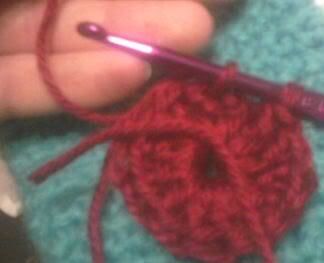
Next up, you need to be incredibly patient as you do ONLY single crochet rows.
This may take twenty or thirty rows depending on how big your dummy is.
If you have your dummy available often, test it on them, and wrap it around their waist to see how far along you have to go until the length is a few inches short of the armpit. It's okay to have a large gap between where you stop and the armpit - you will be able to fix this later after finishing the rest of these steps. (hint: don't try to do this now)
DO NOT keep adding rows up to the very bottom of their pits. It won't be a comfortable fit whatsoever. In fact, it may not fit at all.
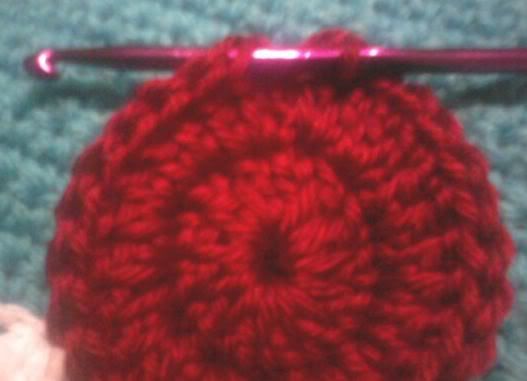
Once it's at the appropriate length, fold the piece in half, and turn as if you're going to make the next row. With the piece still in half, continue the single stitch until you're half way through the fold.
DO NOT STITCH THE FOLD TOGETHER. You're simply eyeballing where the middle of the fold is.
Now turn to make a new row when you reach the middle.
For my niece, who is small, I only went up about five rows before I began to make the V-shape for Luffy's vest. You may want to make even more rows if you're making this for someone much bigger. For a small child, five rows should suffice though.
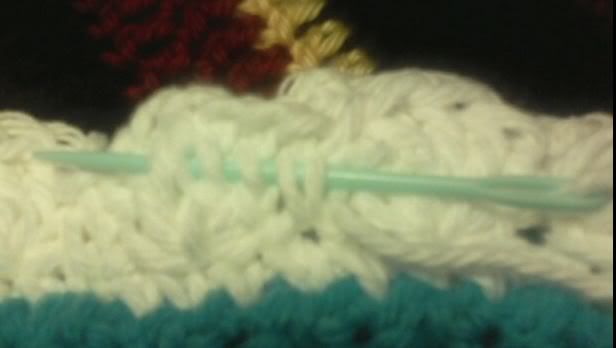
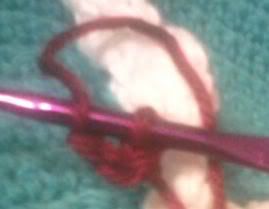
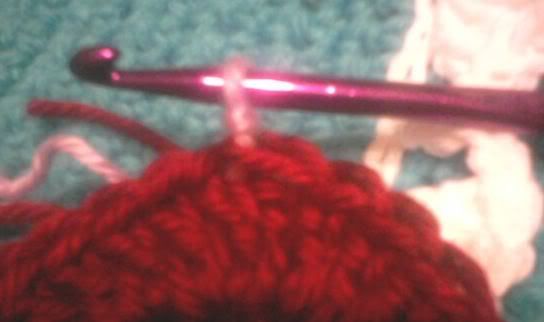
To make Luffy's V-shaped collar, you must SKIP that last stitch on the end of the row. Look in the example to see the stitch I am skipping.
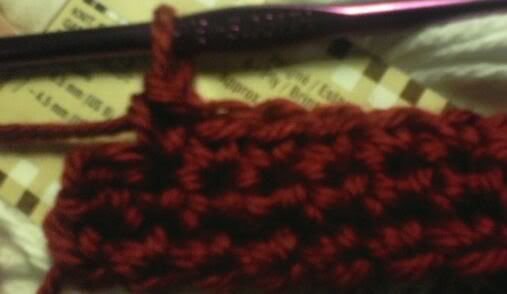
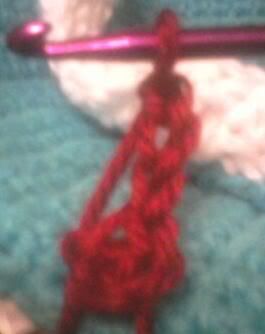
Now turn to make the next row as if that last stitch doesn't exist. As you turn to make the next row, your end should look like little steps like this:
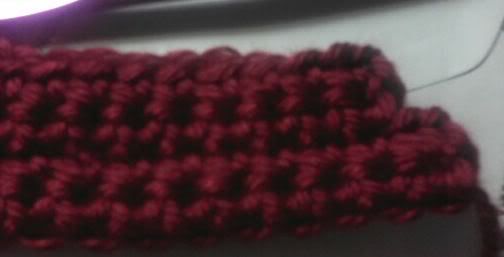
You'll continue to make little steps like these.
I made ten such steps for my niece before stopping. For her, this was the sufficient length from the middle of her chest to her shoulders.
If you're making this for someone larger, you may have to stop making those steps at around the point where it passes their collarbone, but continue to build rows on top up to the top of their shoulders.
In fact, make notes on how many rows you made, and keep track of how many steps you have.
In any case, when you reach their shoulders, STOP.
Take a deep breath, and cut it loose. DO NOT make the length of this end too short. In fact, it can't be long enough sometimes. Make it about 6 to 10 inches long.
Now forget about it after pulling the yarn all the way through the stitch.
Don't worry, it knows how to stay.
DO NOT MAKE A KNOT. That will eventually ruin the vest. Just don't do it.
Now fold the piece in half again like you did last time. Start another row from the half point on the other side.
To help make your vest look consistent, DO NOT start a row from the edge. Start in the middle. You can easily see the middle now, because you stopped there on the other side.
Now, just go back to follow the instructions I gave for the first flap you did. If you took notes, follow those.
Except, yanno in reverse since this is the other side of the vest, and you want that V-shape.
…
So now, you're done with those two front flaps. Cut the second one loose.
You should have four loose ends at this point.
The first loose end from the VERY BEGINNING.
The loose end from the first flap.
The beginning loose from the second flap.
And the one you just cut from the second flap.
Continue to ignore them.
At this point, you may be confused about how to make the back flap.
First, I must tell you this. There are right handed people and there are left handed people.
RIGHT handed people do things in a RIGHT handed way.
And there are LEFT handed people that do things in a RIGHT handed way because their parents are dicks - or their aunts didn't know that their niece was left handed and taught them to crochet as if they were right handed.
HOWEVER. There ARE left handed ways to crochet.
So think about whether you use right or left handed crochet before finding the point where to start.
If you use right handed crochet, the first flap you made should be at your right hand.
If you use left handed crochet, the first flap should be at your left hand.
Now start a row in that gap between the flaps. Continue to make single stitch rows, and remember to keep the edges consistent for this flap. No need for anything fancy.
You'll continue making rows until it's even with the two front flaps.
It's looking a lot like a vest now, huh?
Cut it loose now, and ignore the loose ends.
Get out your yarn needle, and yank out a lot of yarn from your ball of yarn. About a foot and a half should be enough, and cut that out.
Now just sew the shoulder parts together. DO NOT USE THREAD FOR THESE PARTS.
Unfortunately, it won't look pretty and consistent with the rest of the pattern on the vest, but if you crisscross it as you sew in the yarn, it should look fine.
Do the same with the other flap.
And now it's a vest.
But do a test try on with your victim. Remember the arm pits? Check those areas, and sew them up with yarn until they're covered.[/hide]If you just wanted a Luffy vest, you have one now. Use some yarn or thread to thread on some buttons. Sew on some clasps or snap-on buttons. Fasten off those loose ends by using the yarn needle to tuck the loose ends INTO the rows.
Yes, that's right. Hide them in the vest, and DO NOT TIE THEM OFF.
And you're done
Except I'm crazy, so I'm not done.
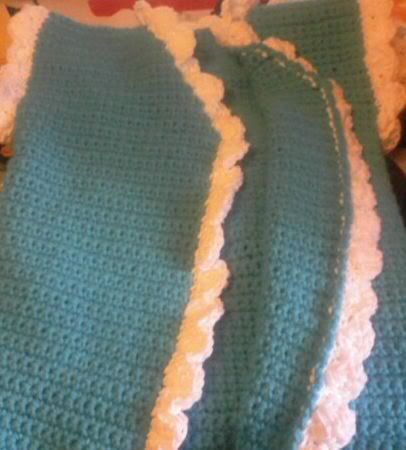
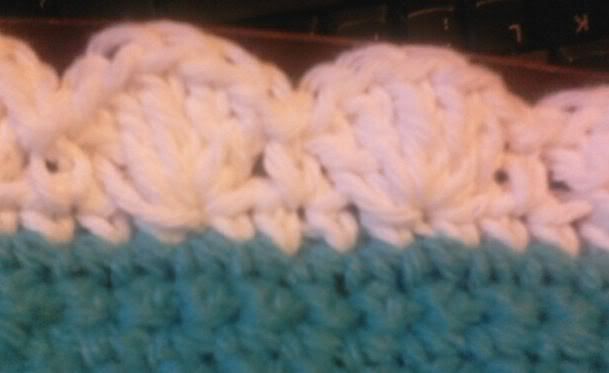
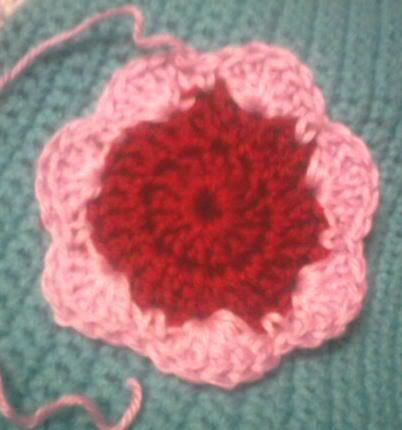
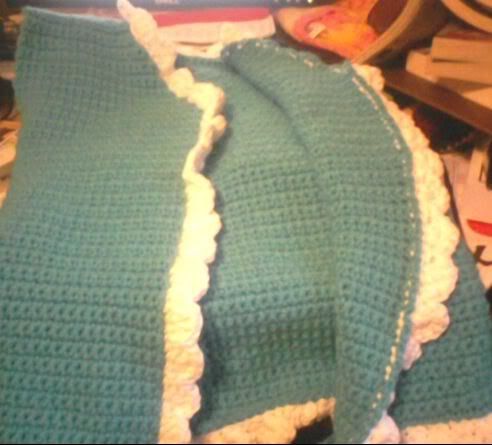
[hide]This is the vest with the border completed along the longest edge.
And this is the vest with me about to complete the last arm hole's border.
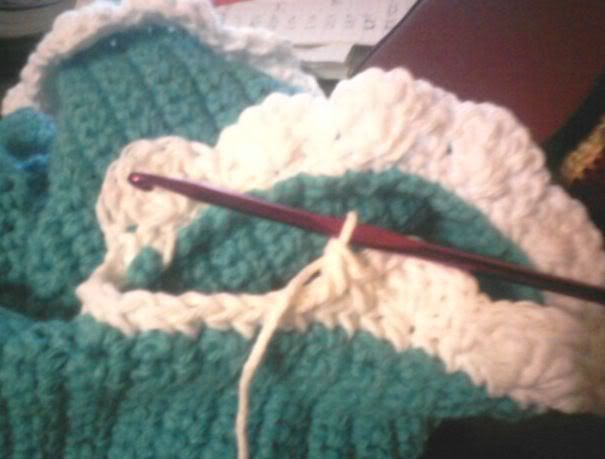 [/hide]Tell me if you're interested in knowing the pattern to make the border, and I'll post more instructions.